Canoff Brand Kickoff!
Second stop is Branding working with Michael Ellis the Director at Marimo, (www.marimo.co), Myself and Mike met at Northumbria university both studying design courses. Mike

Hello, so here we are starting the Canoff journey. Having been a self-employed designer since 2015 I’ve had a few small breaks in-between freelance contracts to spend time developing Canoff. At this point in March 2017 I was living in StAlbans where I turned my basement into a first time moulding factory!
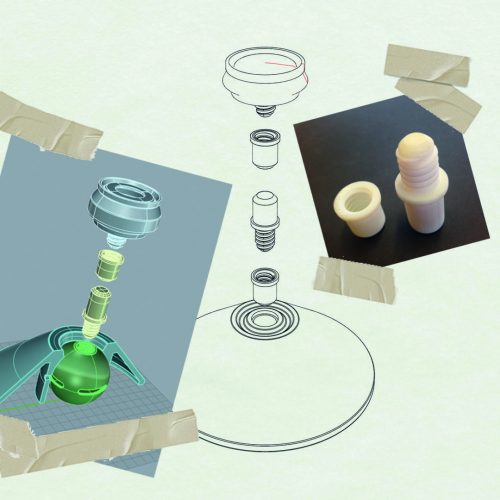
My initial designs of Canoff were very basic, I wanted the overall height to be both suitable for both children and adults which was around 830mm to the top of the mount, my design career is in museums and exhibitions so i’m used to working with human ergonomics and scale, with that and the use of CAD (Vectorworks, Rhino & 3D Studio Max) I could accurately draw out the technical profiles of my game components, the Base, the poles and the mount.
The connection method for Prototype 1 (P1) I used a screw fixing, modelling this in 3D for both the male and female parts and sending it off for 3D printing in a high detail resin, these parts were fairly expensive at the time so my intention was to make moulds from the parts and replicate them to fit inside hollow tubing, fitting together to create my poles.
My base P1 was very different than the final design today, I wanted the pole to be anchored from the base in a ball and socket type design so when hit with the flying disc it would topple and you would correct the position by putting it straight. This failed dramatically as 1 it just fell to the ground and 2, when placed on a soft surface the ball dropped below the base and then in turn the pole fell over, not ideal! That led me to P2 where I removed the use of the ball base and the pole screwed directly into the base.
The mount design for P1 was pretty crude, essentially take the exact image of a can and take away the straight middle section leaving just the top and bottom profile of the can. This was the obvious route at first as originally the game was made around stacking a can on top of a can to support the top can target.
With the 3D designs, 3D printed components, moulds and prototyped parts I completed my first P2 set which I used to put together my business plan. With my plan written I was ready to approach a professional design team for technical support.

Second stop is Branding working with Michael Ellis the Director at Marimo, (www.marimo.co), Myself and Mike met at Northumbria university both studying design courses. Mike

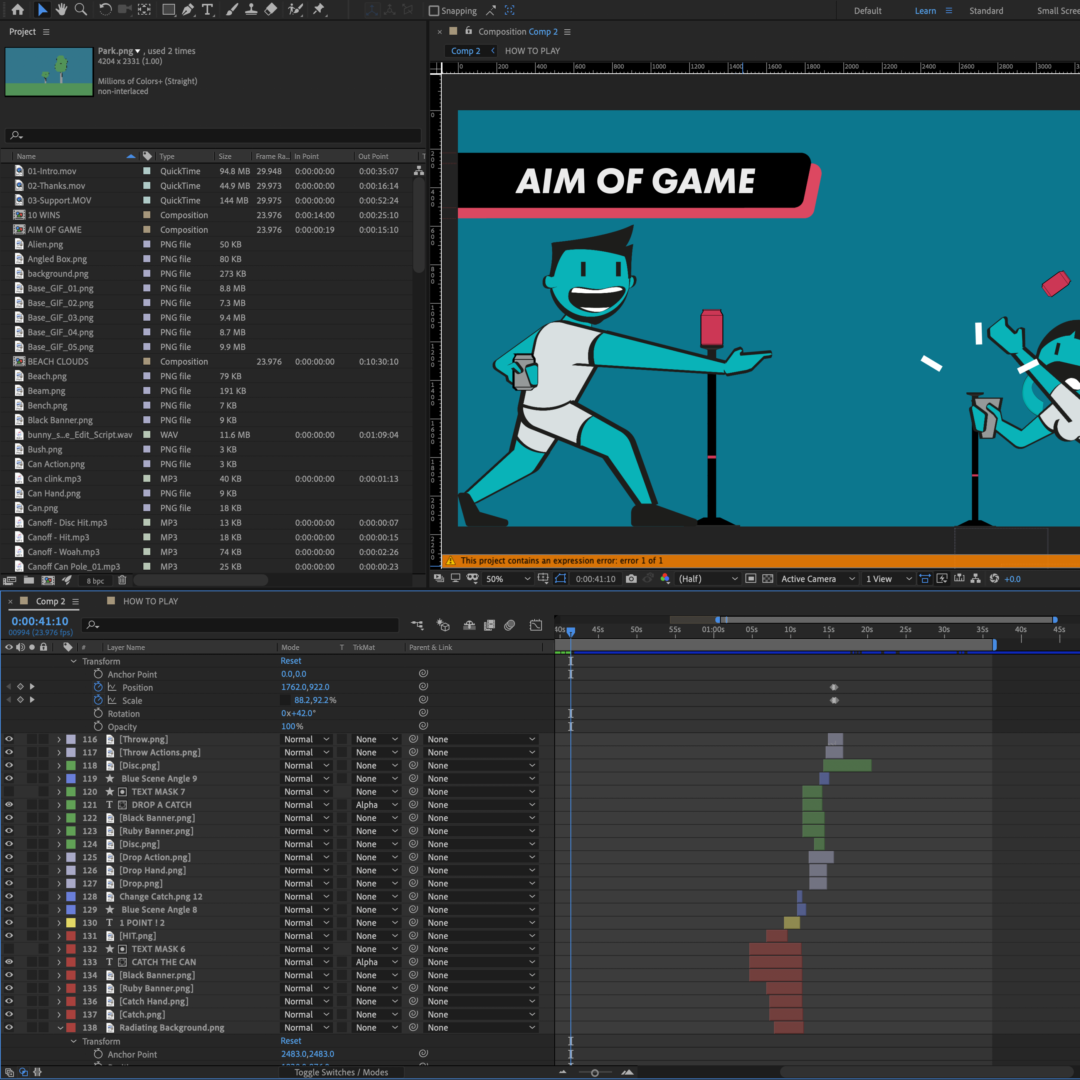
I wanted it to be fun and snappy with a bit of humour, that’s where the Mars scene came from with the alien popping up